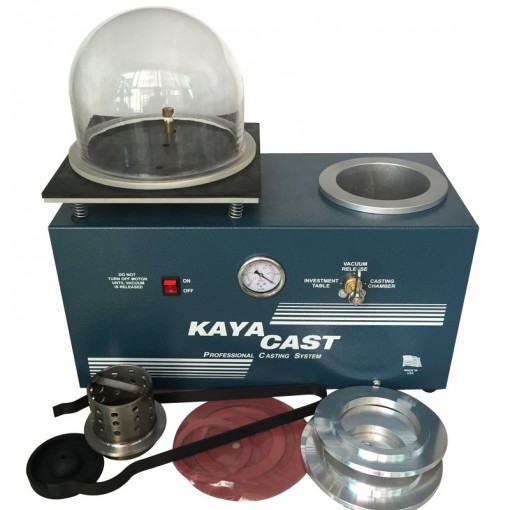
The possibilities of what you can create with wax, fire, and molten metal are endless. Cast jewelry and sculptures from wax to capture fine details in your piece. Casting jewelry with jewelry vacuum casting machine and jewelry centrifugal casting machine are cost and time effective, and it gives you the ability to make multiples of the same piece.
Step 1: Carve and Shape Wax
Carve your project in wax. Different types of wax can be used for your desired outcome. Sculpture wax is soft and can be shaped like clay, while some wax is harder and can be used to achieve textures in cast jewelry.

Step 2: Attach Sprues and Base
Attach sprues and weigh your wax model with the sprues attached. Melt wax onto the button of your flask base, and attach your wax model to the base.
Step 3: Invest
Measure the ratio of investment powder to water based on the weight of your model. Add the investment to water and mix until smooth (think pancakes).
Step 4: Wax Burnout
Place your flask in the kiln to remove the wax and prepare your flask for casting. Timing and temperature will be adjusted according to the size of your flask. Then, gear up! Put on your safety glasses and gloves before handling your hot flask.
Step 5: Casting
Lock the centrifuge, place your flask in the cradle, and push the crucible up against the flask. Preheat the crucible, then pour your pre-weighed metal into it. Using an oxy-acetylene torch, melt the metals in your crucible and occasionally stir with a stirring rod.
Step 6: Quench
After your flask cools and is no longer glowing red, pick up your flask with a pair of tongs and completely submerge it in the quenching bucket until the bubbling stops.
Step 7: Finishing Work
Cut off the sprues, grind down any sharp edges, sand, and polish your piece, and enjoy!